First steps: making keypairs
Overview
Teaching: 30 min
Exercises: 0 minQuestions
What are keypairs and why do we need them?
How do we setup keypairs for Nimbus?
Objectives
Logon to Nimbus and make a keypair
Login to Nimbus
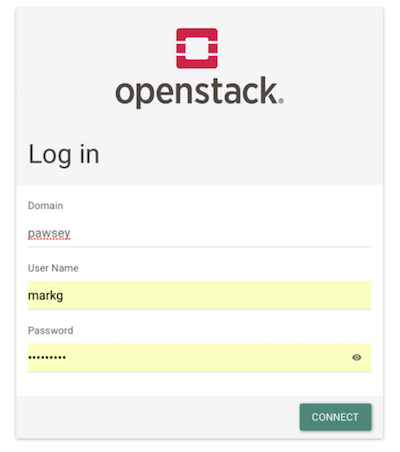
If you are at a Pawsey training event, then your instructor will provide a username and password you can use for the day. Alternatively if you have a Nimbus project you can use your project username and password.
The Nimbus dashboard is at https://nimbus.pawsey.org.au Open this URL now in a browser window, you will see the login window (below). As shown, for “domain”, enter ‘pawsey’ and your user name and password.
Now that you are logged in you can have a look around the various panes of the user interface.
Generating keypairs
Our first action is to generae keypairs. Keypairs take the form of public (think: ‘lock’) and private (think: ‘key’) key files. These files are presented together to securely authenticate (login) to a Nimbus virtual machine. Why do this? We do this because the username/password login is not set up for new VMs (by design).
There are two methods of creating keypairs.
-
From the Nimbus Dashboard This will automatically create a lock when selected for your instance through the Dashboard and download the private key key to your local computer (.pem file)
-
(optional) From within your Terminal Window This will create two separate files, your key and lock (.key and .key.pub) You need to import your lock (public key file) to the dashboard for Nimbus to recognize it
Keypairs from the Nimbus dashboard
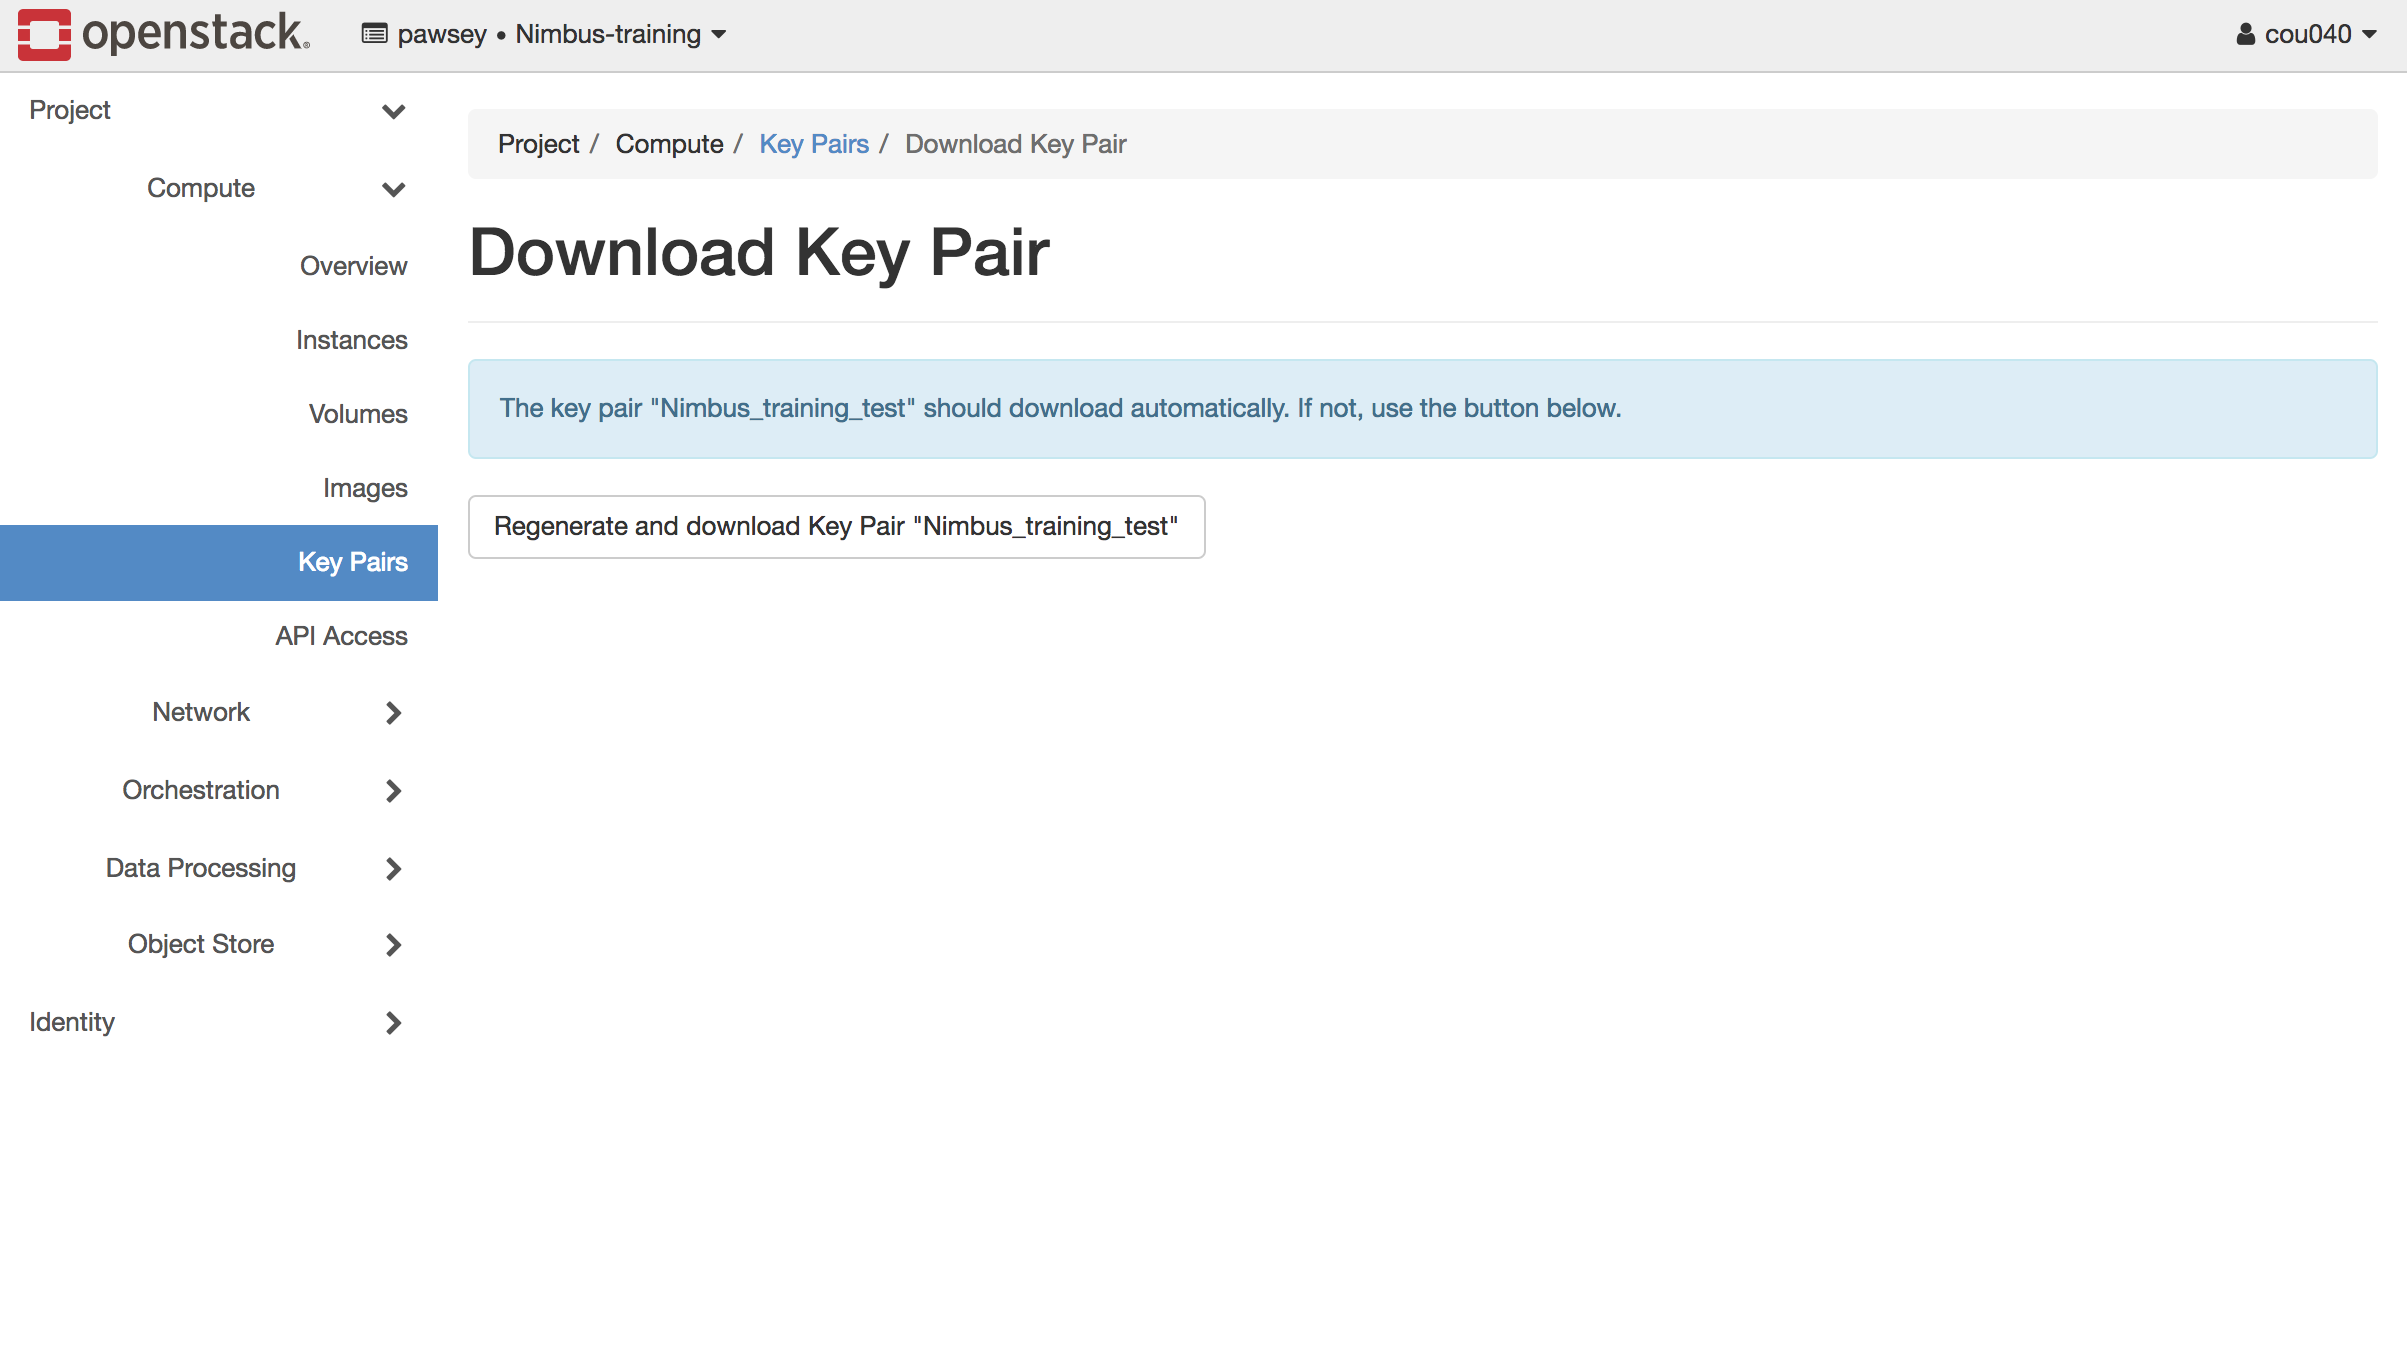
Go to the Key Pairs item under the Compute menu. Click the button “Create Key Pair”, and give your key pair a name.
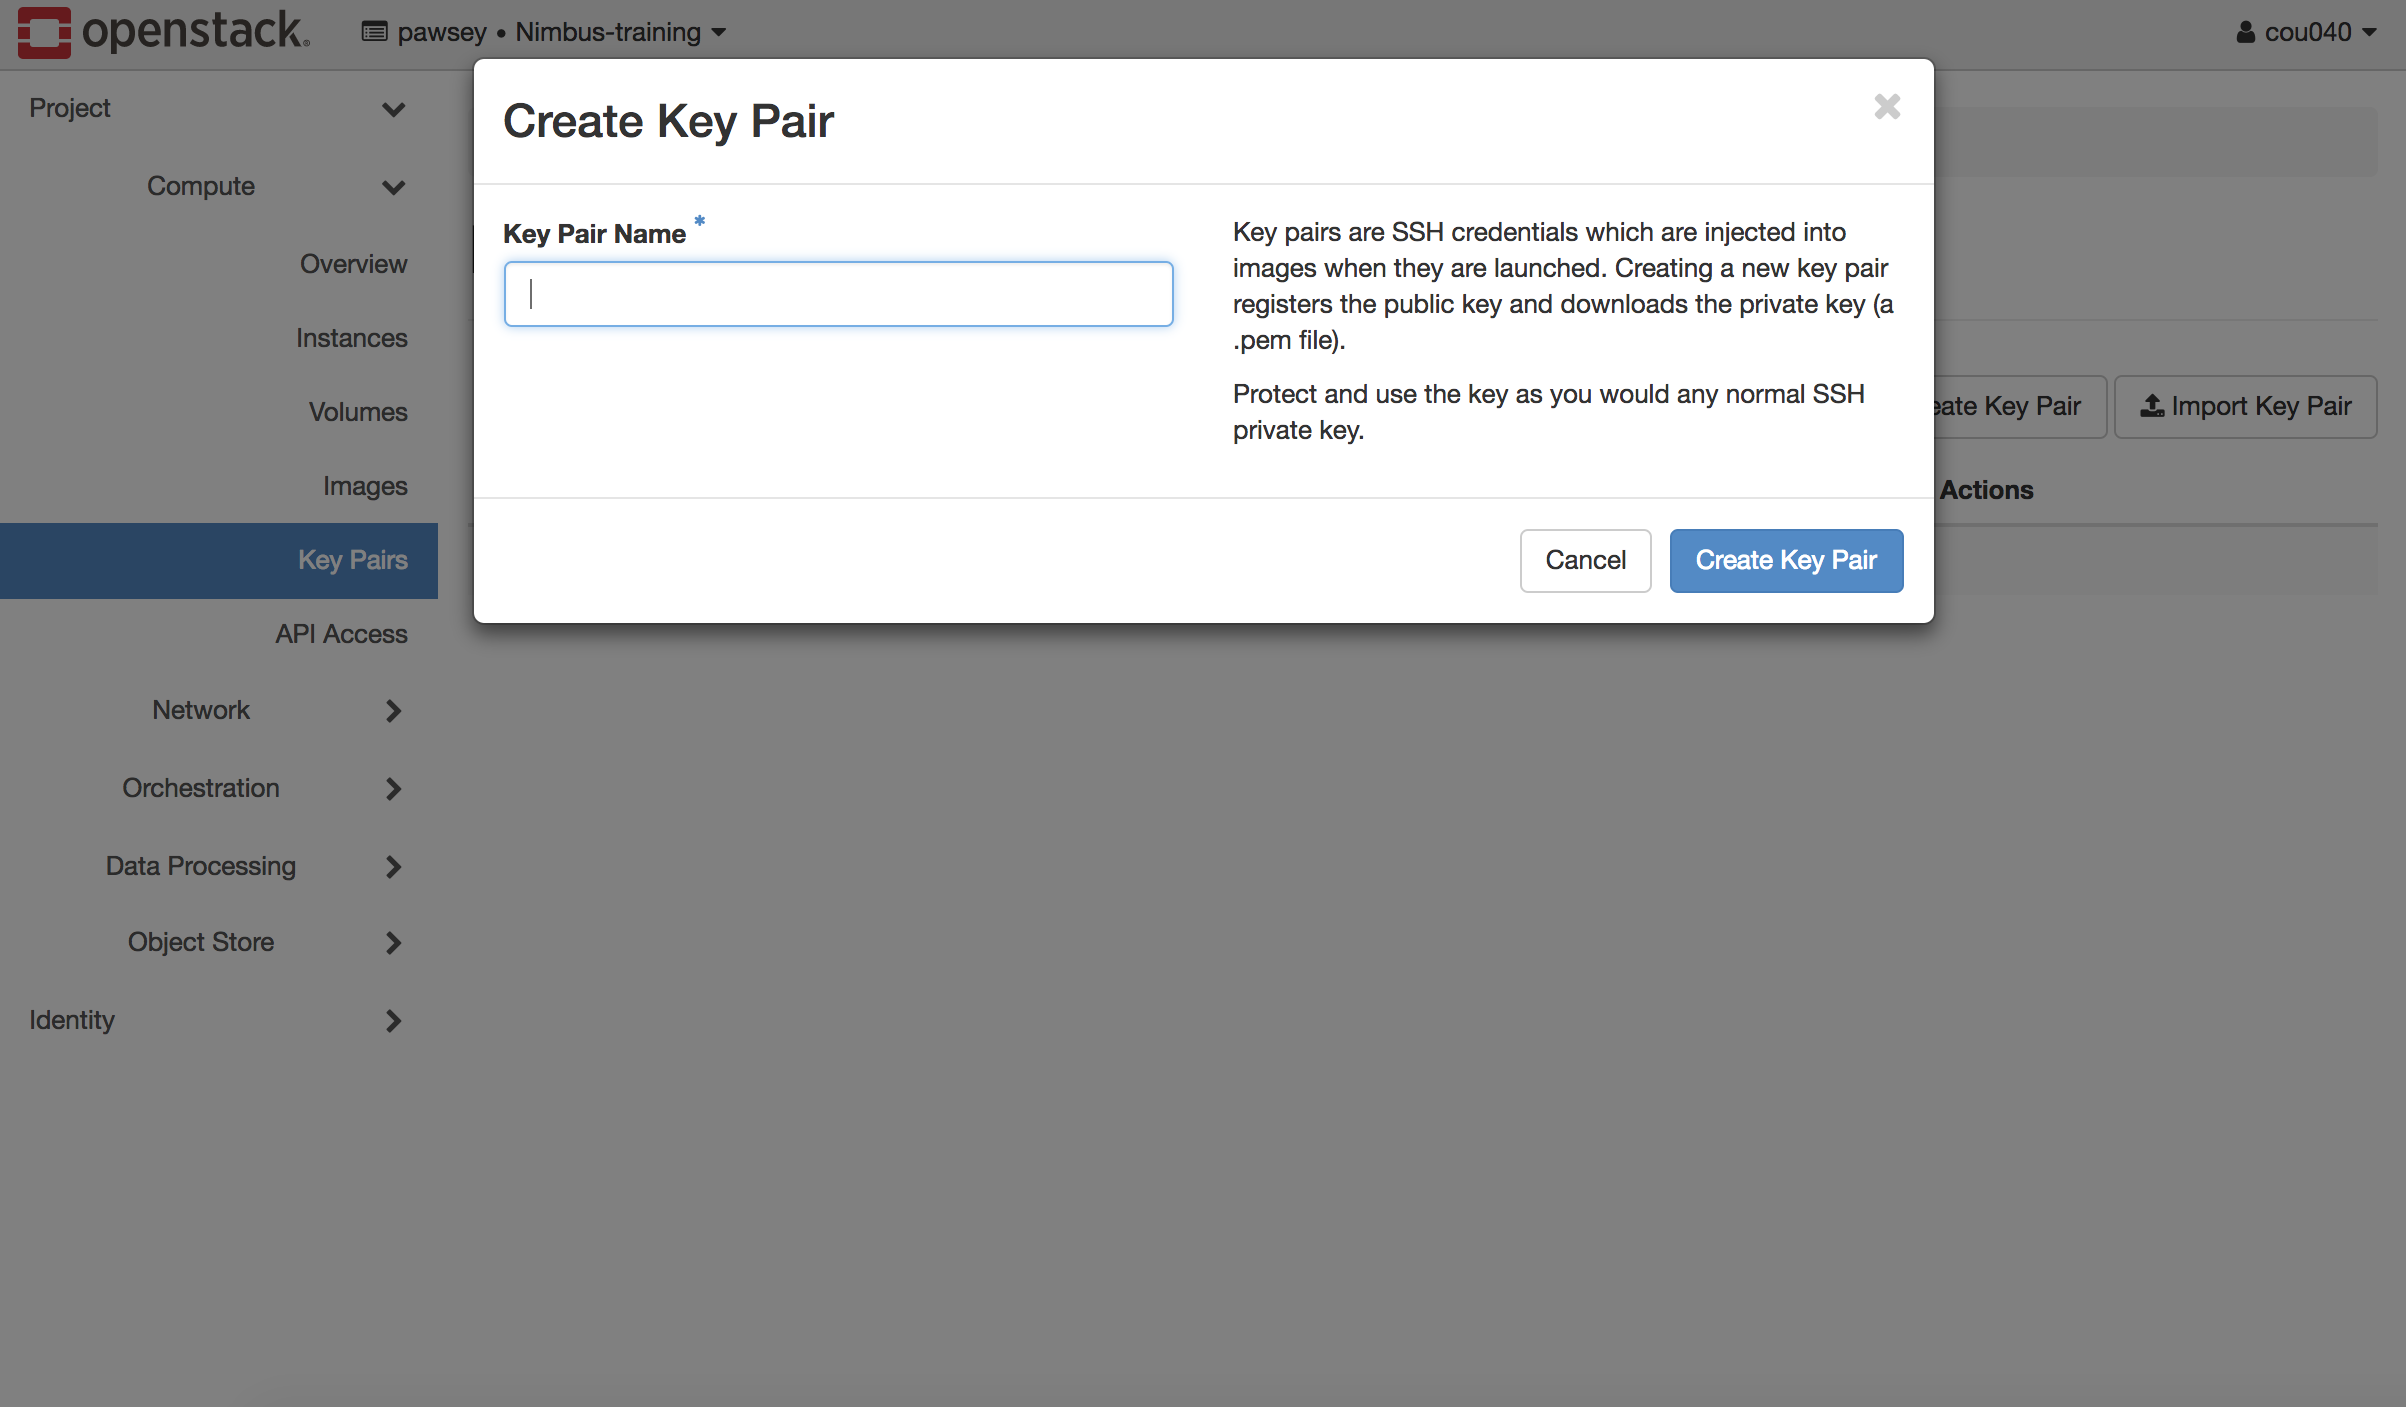
When done, your browser will download the .pem file.
(optional) Keypairs from your terminal
This method will be very useful to you, if you wish to make a keypair that you can use with multiple systems (in addition to your Nimbus instances).
Run the command as shown below (with a useful name for “My_Key_Pair_Name”);
popocatepetl:~ markg$ ssh-keygen  -t  rsa  -f  My_Key_Pair_Name.key
Generating public/private rsa key pair.
Enter passphrase (empty for no passphrase):
Enter same passphrase again:
Your identification has been saved in My_Key_Pair_Name.key.
Your public key has been saved in My_Key_Pair_Name.key.pub.
The key fingerprint is:
SHA256:OKdIxLawp/A6X36umLm1gT5EcE60ClzHR2ttz8z30h4 markg@popocatepetl.local
The key's randomart image is:
+---[RSA 2048]----+
| .......         |
|o +o.. .o        |
|.*o + .o o       |
|..o= .... =      |
|o.. + o S  = .   |
| o.= . +    . o  |
| .+ = .      . E |
|.o.B o.       o .|
|.oBo++.        . |
+----[SHA256]-----+
Storing your keypairs
Store your private key in a safe place! Losing your private key means losing every access to your instances. Not even the Nimbus support can give you access to your instances if you have lost your private key.
Keypairs with JupyterHub
From JupyterHub, click on the upload file button, select the key you just generated in the Nimbus web interface, and upload it. We will need this file later to connect to our instance (virtual machine).
By default, once uploaded you private key permission will not be correct to be used in the next lessons with you SSH client. To fix that run:
chmod 600 name_of_your_key.pem
(optional) If you are using Windows with PuTTY
- Open PuTTYgen (All Apps -> Putty -> Puttygen)
- Click on the LOAD button.
- Select the .pem file you just downloaded from the Nimbus Dashboard. If you cannot see your .pem file , select “All Files” instead of “Putty Private Key Files” from the dropdown bottom menu.
- Set a new passphrase and confirm it for your private key.
- Click on the “Save private key” button and give it the name you prefer.
(optional) If you are using a native terminal (Linux / Mac / Unix)
If you used Nimbus to make the keypair
If you used Nimbus to make the keypair, you should move the downloaded .pem file somewhere where you can find it later. Store in your .ssh/ directory and rename it id_rsa (or give it another name if you have more than a private key)
$ cp ~/Downloads/file_name.pem ~/.ssh/id_rsaTo allow the correct permissions we want to allow only the user (you) to have at least read and write privileges:
$ chmod 600 ~/.ssh/id_rsaIf you created your keypair on the commandline
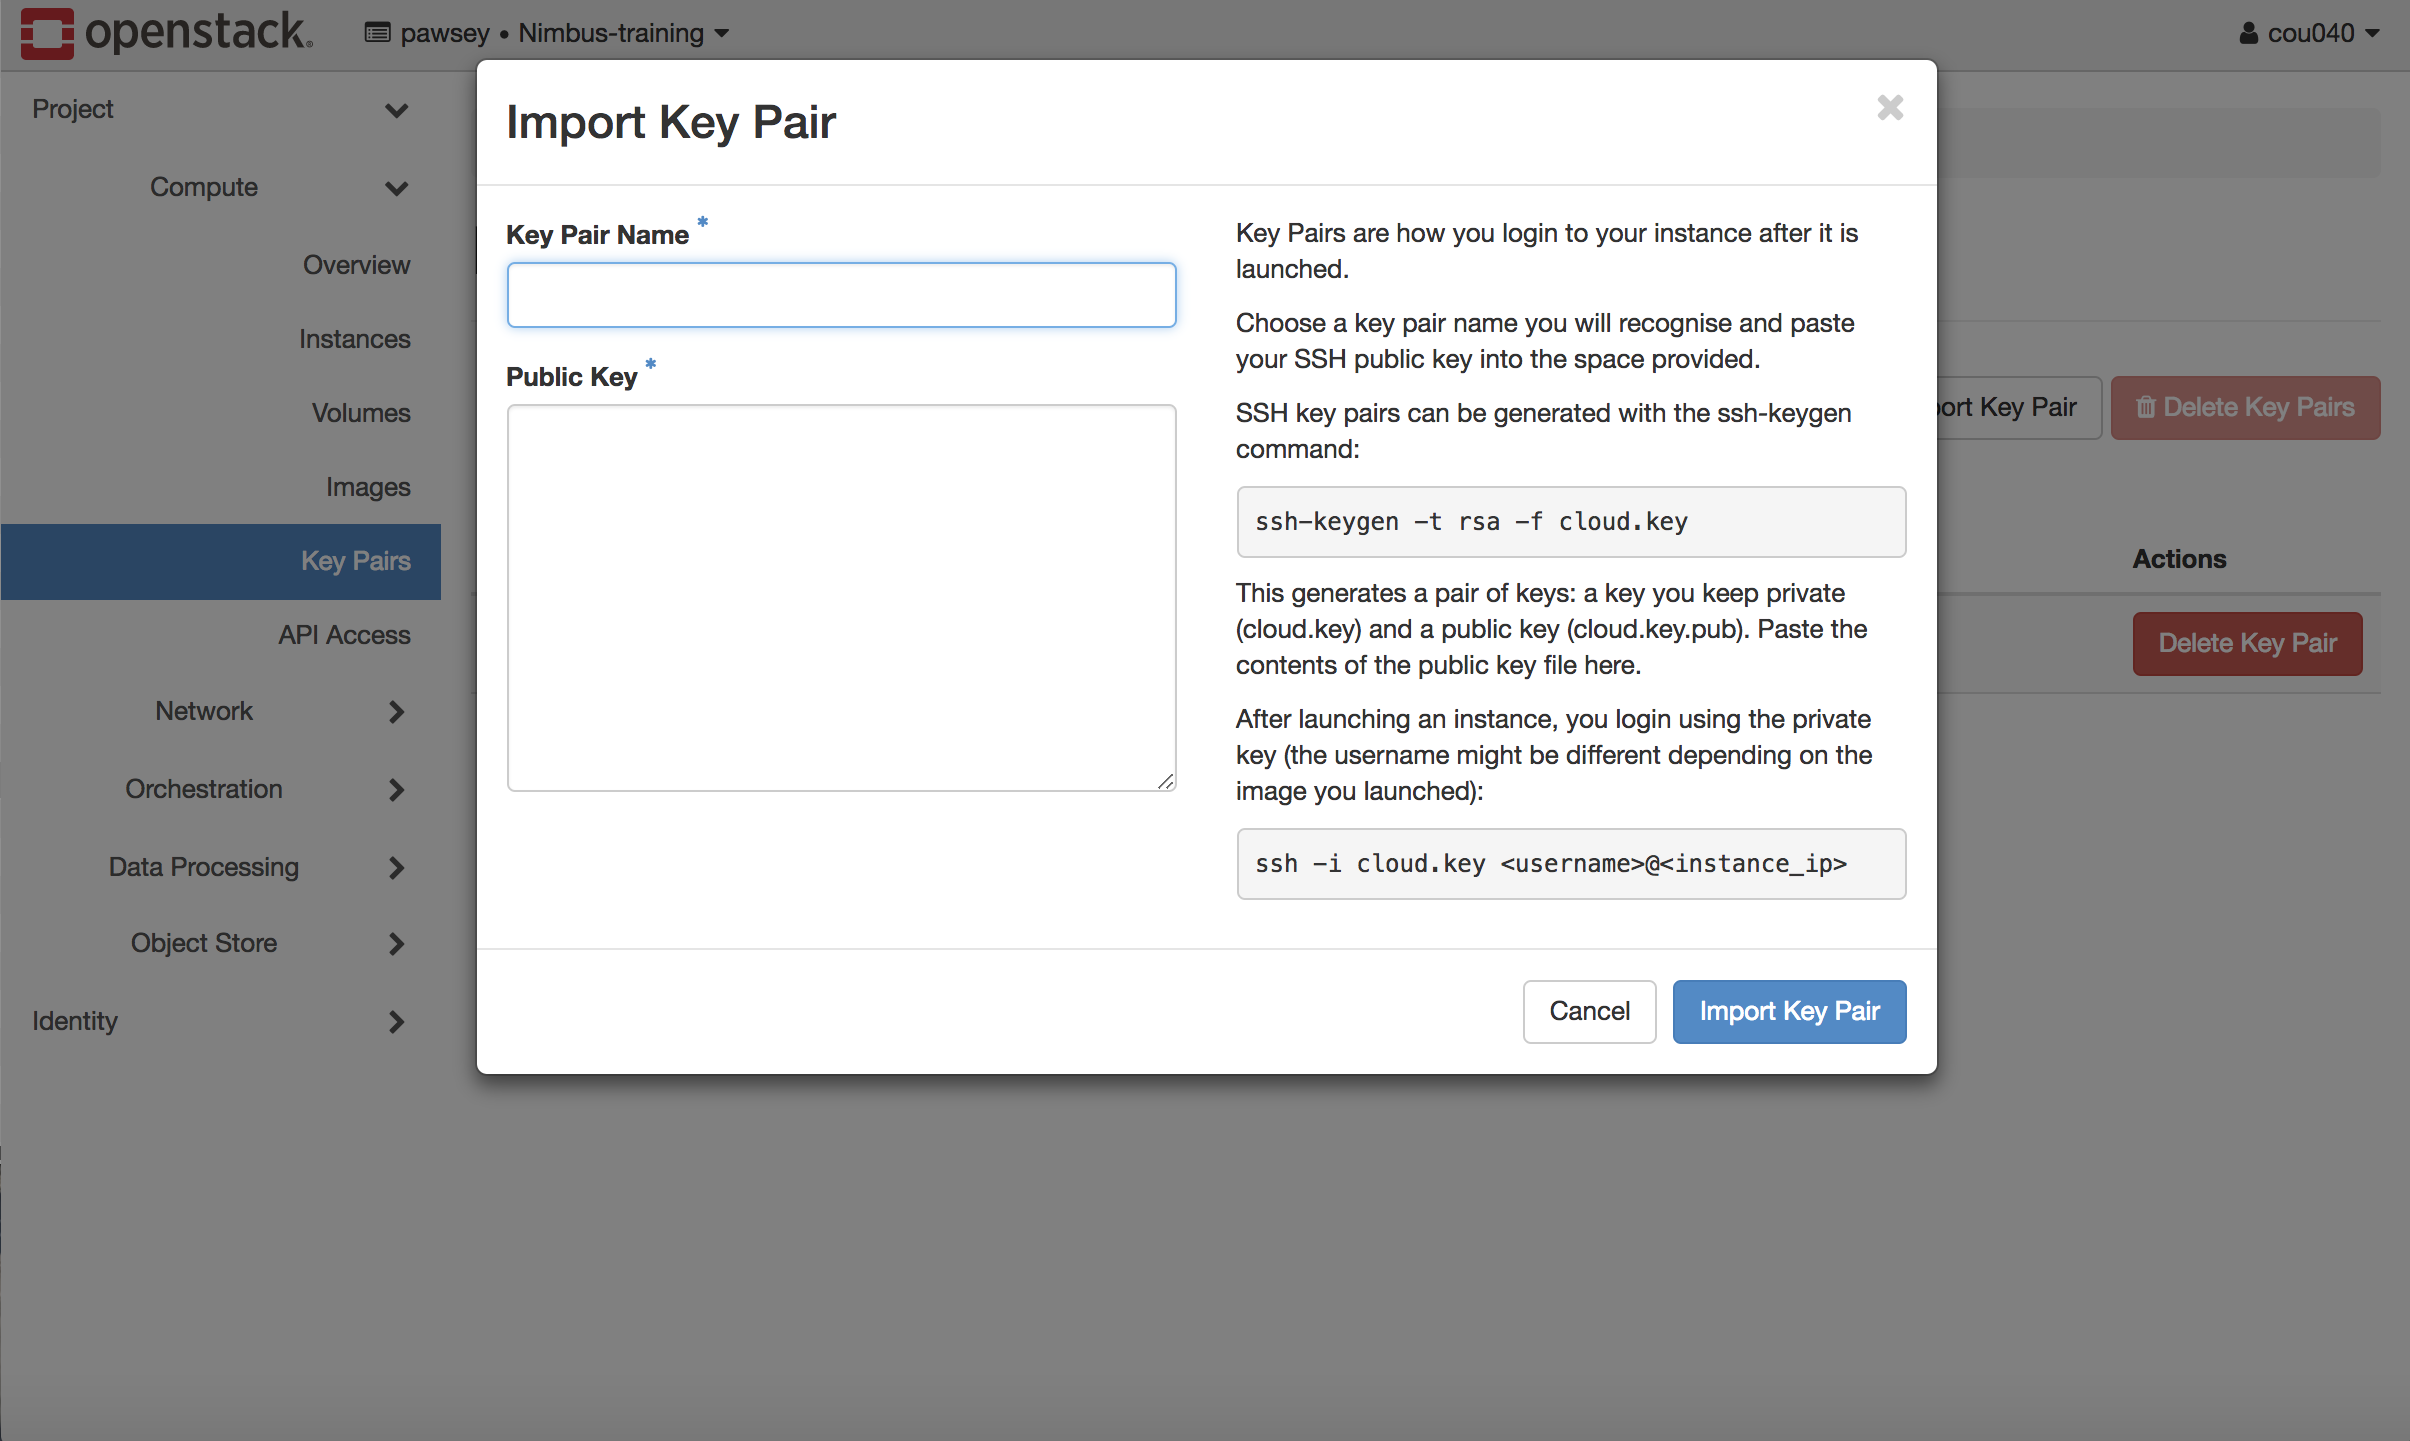
If you created your keypair on the commandline, then you will need to get the public key data and import this into Nimbus using the “Import Key Pair” button.
First get the public key data
popocatepetl:~ markg$ more  My_Key_Pair_Name.key.pub
ssh-rsa > AAAAB3NzaC1yc2EAAAADAQABAAABAQDVZTn98qxxovMDnui8L+WynWptAGS8sR2GIJ4HE+9v8lHlcSiKDze07o/SIb+RQR7FFvLchAD2xLxiF8mB+4SUhaoxWXZGhc8RBLXpSMD6tJNT9VNxd99mI7g6rq3HMpSZDE5YTxSweDy13qRmc6gBXWNGjUHV3eUv6pHKthbs1v/MjsA7nkYdINiCwpgawJ7fdyJJ61vkrO7+tjkdRFBBTn2O8ELTMYEssM/hwHZt00RWOVjXylaQK766yF6Qhog2pQc2gsUXQLown9Hzga8QVxvMxCY9cVh2lxtBVjDuv1HWwC1PZhYa9QlLf+jsITyOzEfPuNidZvyWnjxei6+P markg@popocatepetl.local
Then copy/paste this into the keypair import interface, as shown:
Key Points
Create keypairs using the Nimbus dashboard.
Keypairs can be imported using the dashboard
Functional keypairs are required for starting a virtual machine